¿Tipo de mochila? ¿Que debo llevar en la mochila? / TYPE OF BACKPACK? WHAT DO I TAKE IN THE BACKPACK?
 La mochila que debemos llevar se debe adecuar a nuestras necesidades. En este caso hay que buscar una mochila muy ergonómica entre 25 y 30 litros, que sea rígida, con varios compartimentos, con camel bag. Interesante es que tenga acceso a la mochila por la parte posterior y ya si te lo puedes permitir que incorpore sistema airbag.
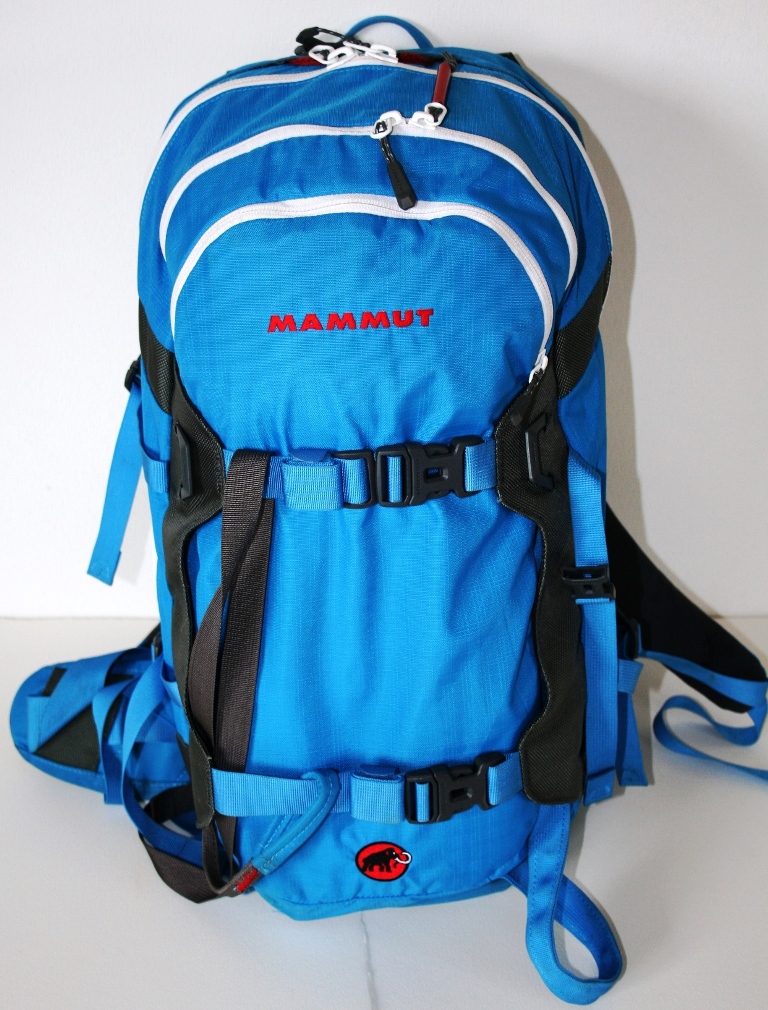
En nuestro caso llevamos dos modelos diferentes de mochila, de la misma marca pero una de 25 litros sin sistema airbag (roja) y con acceso posterior y otra de 30 litros con sistema airbag (azul).
 The backpack we carry must be suited to our needs. In this case, it’s important to choose a highly ergonomic backpack between 25 and 30 liters, with a rigid structure, multiple compartments, and a camel bag. A back panel access is a great feature, and if you can afford it, opting for a model with an airbag system is highly recommended.
In our case, we use two different backpack models from the same brand:
- A 25-liter model without an airbag system (red), but with back panel access.
- A 30-liter model with an airbag system (blue).

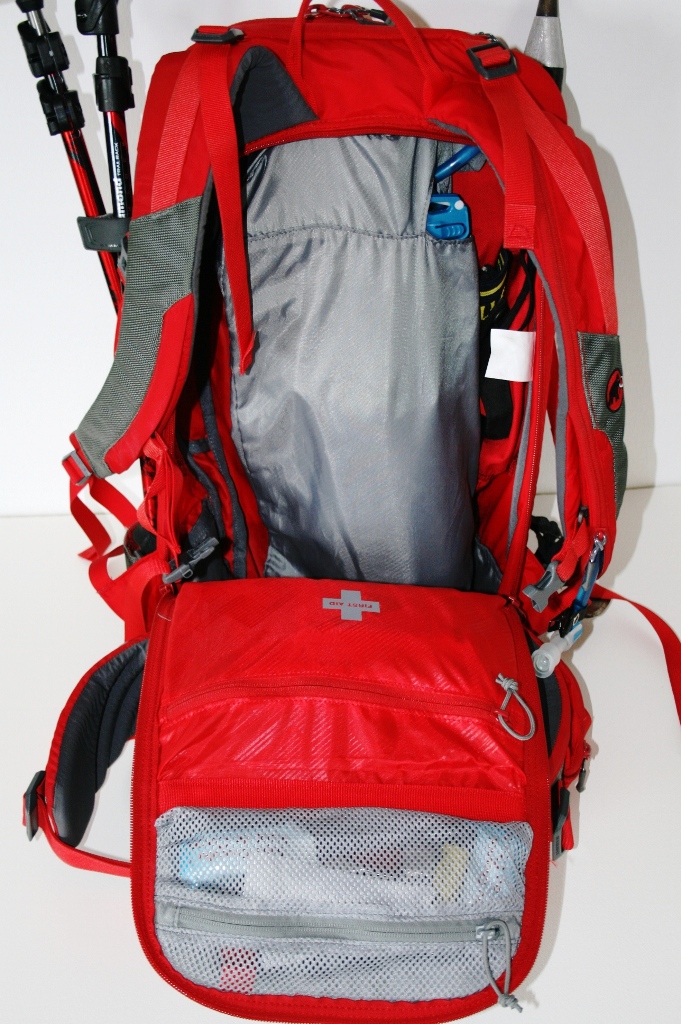
En este caso el acceso al interior del bolsillo grande por la parte trasera de la mochila nos parece muy útil sobre todo cuando tienes la tabla fijada en la parte delantera de la mochila, ya que no hay que demontar nada si necesitas acceder al interior. Es más cómodo.
In this case, rear access to the main compartment of the backpack is extremely useful, especially when the board is attached to the front. This way, you don’t need to detach anything to access the interior, making it much more convenient and efficient.
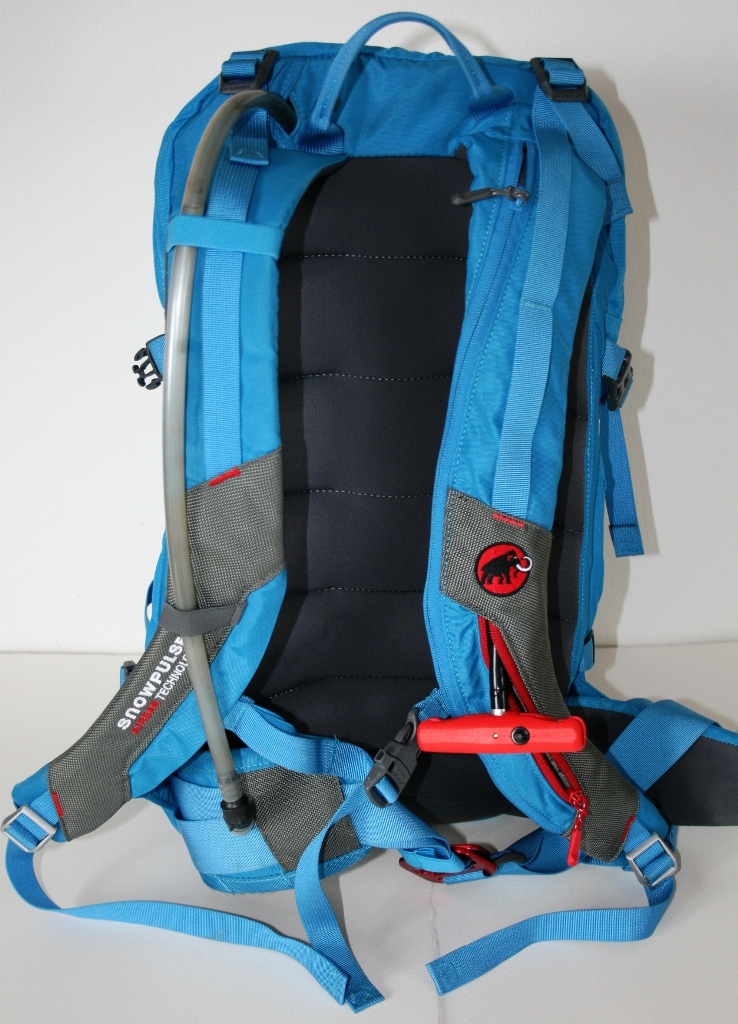
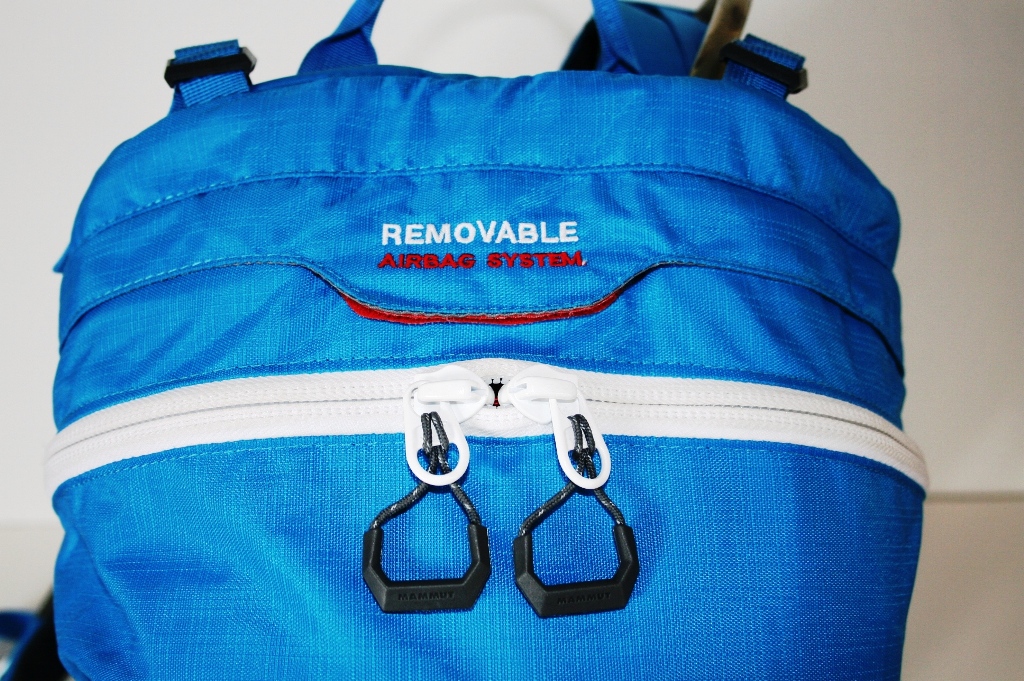
En este caso el tirador rojo que queda en el lado izquierdo es el accioamiento del airbag. Con este sistema no se tiene acceso a la mochila por la parte posterior de la misma, debido al alojamiento de la botella de gas, el airbag y por darle ma rigidez a la mochila, y el tubo de hidratacion va por el exterior del tirante derecho en vez de por el interior. Si hace mucho frio se nos puede congelar el tubo y nos quedamos sin beber.
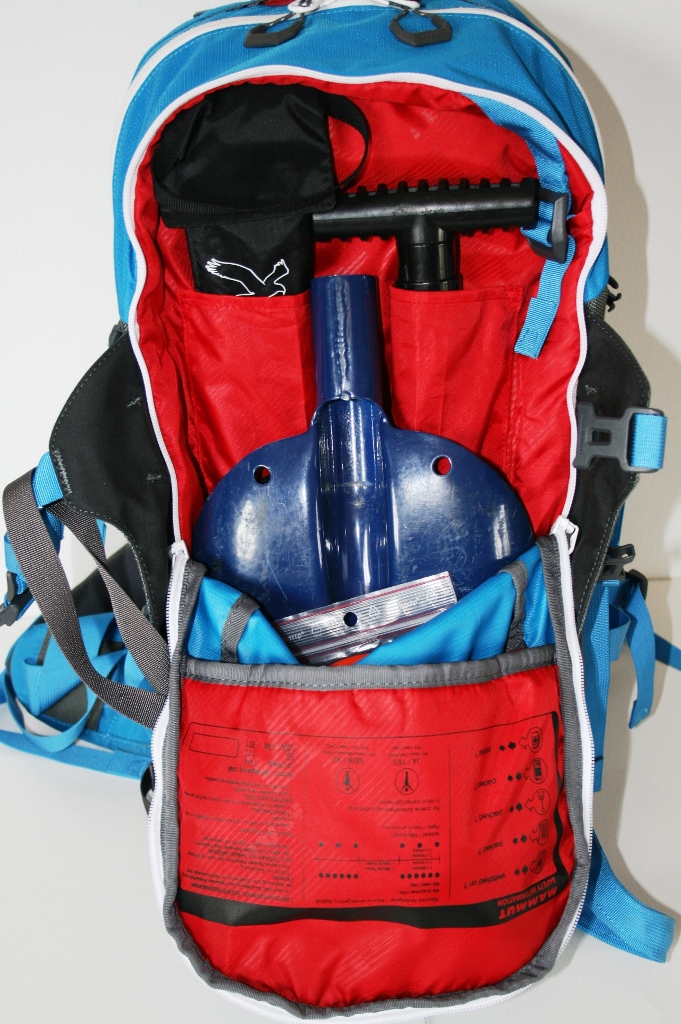
Ambas mochilas disponen de varios compartimentos que utilizaremos para llevar todo lo que necesitamos. Compartimento para llevar la pala y la sonda, bolsillo para botiquín de emergencia, bolsillo para la bolsa de hidratación, cinchas para el piolet y para la sujección de la tabla, velcros para los bastones, red elástica y sujecciones para llevar el casco, bolsillo pequeño muy accesible y forrado para llevar material delicado.
De cualquier forma, podemos tener la mejor mochila del mercado pero si no la sabemos organizar no le sacaremos provecho. Es importantísimo organizar muy bien la mochila por varias razones. Primera razón, no olvidaremos material si la ordenamos siempre de la misma manera y con el mismo material. Segunda razón, en caso de necesitar algo, sabremos exactamente dónde lo tenemos. Y por útimo, le sacaremos más rendimiento a la mochila y será mucho más cómoda de llevar.
Aquí os mostramos el compartimento para la pala y la sonda de nuestras mochilas. Como véis todo tiene su sitio y nada se puede mover. Además está todo muy accesible. En el frontal lleva unas indicaciones de material que se debe llevar y cómo actuar en caso de emergencia (básico). En caso de emergencia mejor tener las ideas muy claras y no tener que ponernos a leer para ver qué hacemos.
In this case, the red handle on the left side is the airbag activation. With this system, there is no access to the backpack from the back due to the housing of the gas canister, the airbag, and to give more rigidity to the backpack, and the hydration tube goes on the outside of the right shoulder strap instead of the inside. If it is very cold, the tube can freeze, and we will be left without water.
Both backpacks have several compartments that we will use to carry everything we need. Compartment for the shovel and probe, pocket for the emergency first aid kit, pocket for the hydration bladder, straps for the ice axe and for securing the board, Velcro for the poles, elastic net and fastenings to carry the helmet, small, very accessible and lined pocket for carrying delicate material.
In any case, we can have the best backpack on the market, but if we do not know how to organize it, we will not take advantage of it. It is extremely important to organize the backpack very well for several reasons. First reason, we will not forget any material if we always organize it in the same way and with the same equipment. Second reason, in case we need something, we will know exactly where it is. And finally, we will get more efficiency from the backpack, and it will be much more comfortable to carry.
Here we show you the compartment for the shovel and probe in our backpacks. As you can see, everything has its place, and nothing can move. In addition, everything is very accessible. On the front, it has indications of the material that should be carried and how to act in case of an emergency (basic). In case of emergency, it is better to have very clear ideas and not have to start reading to see what to do.

¿Qué debo llevar en la mochila? / What should I carry in my backpack?
Se podría resumir con "todo lo que vaya a necesitar y que sea imprescindible llevar". Pero bueno, vamos a ser un poco más precisos ¿no?. / It could be summed up as "everything I will need and that is essential to carry." But well, let's be a bit more precise, right?
- Sonda / Probe.
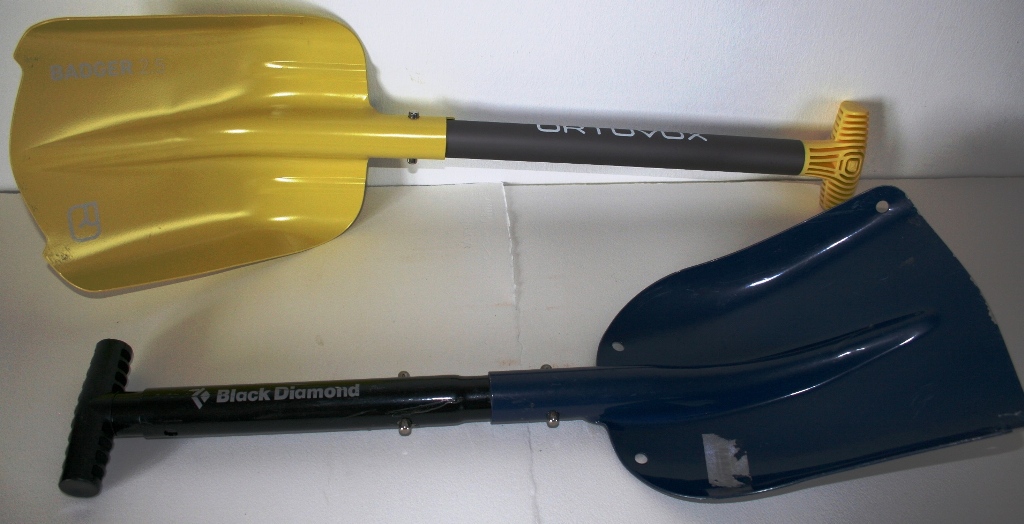
- Pala / Shovel.
- Arva.
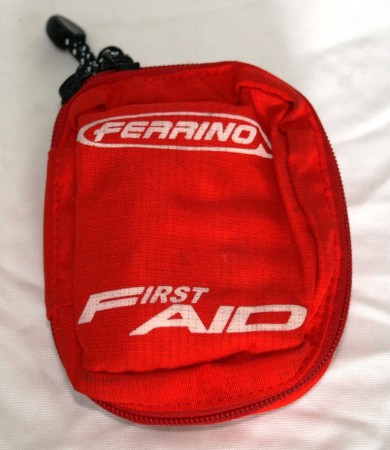
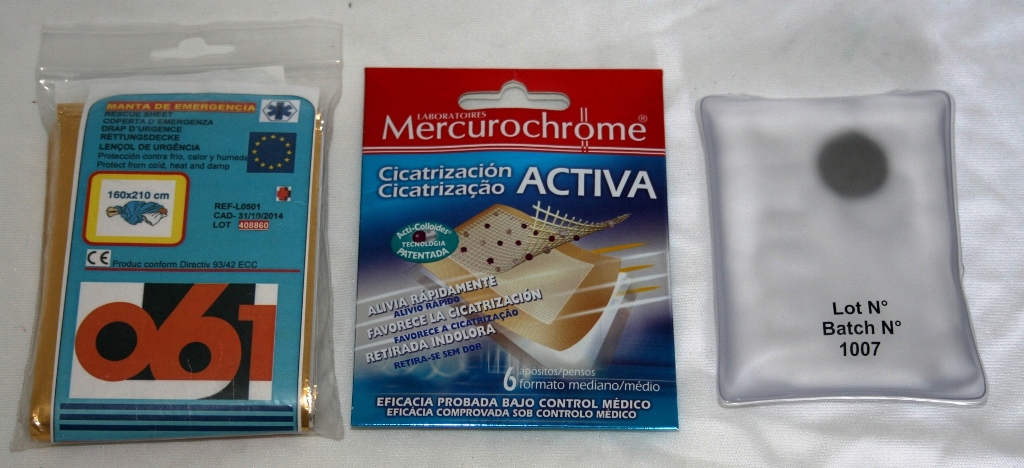
- Botiquín primeros auxilios. Llevar manta aluminizada y bolsa de calor. / First aid kit. Carry an aluminized emergency blanket and a heat pack.
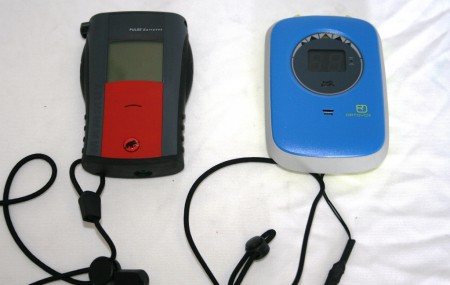
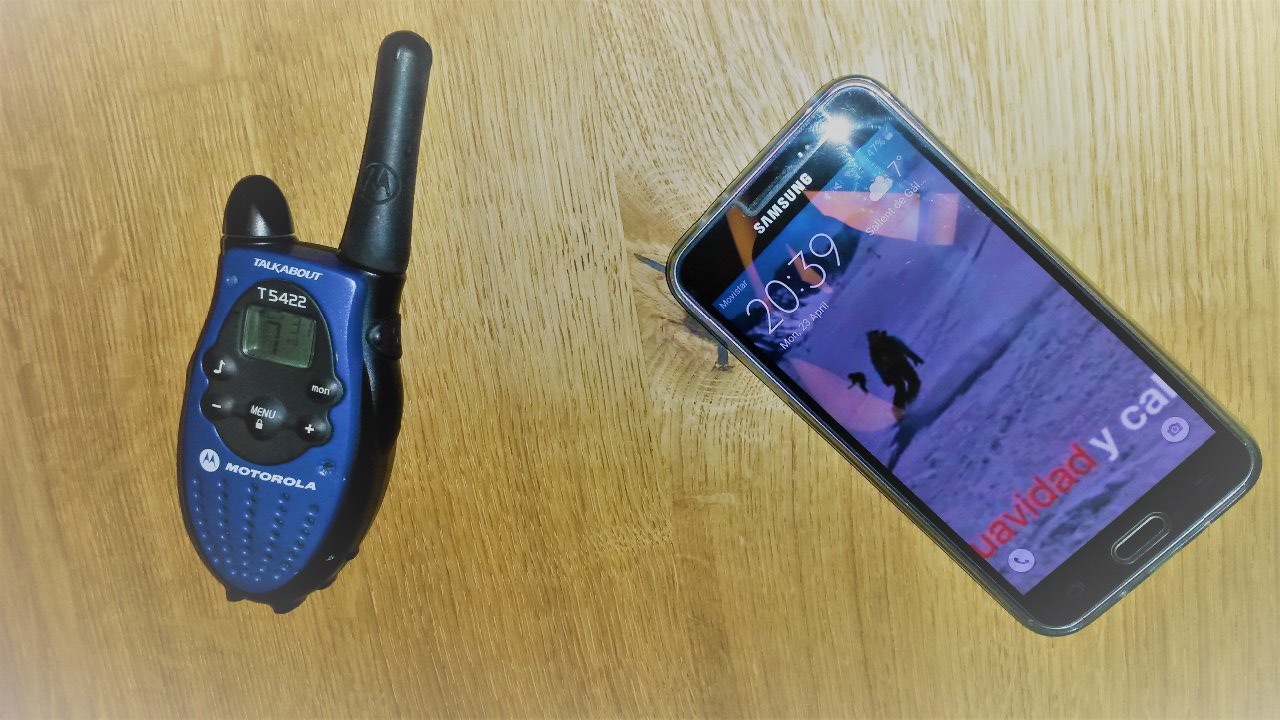
- Teléfono movil y walkie-talkie. Tanto para comunicarnos entre nosotros como para hacerlo con emergencias / Mobile phone and walkie-talkie. Essential for communicating with each other and with emergency services.
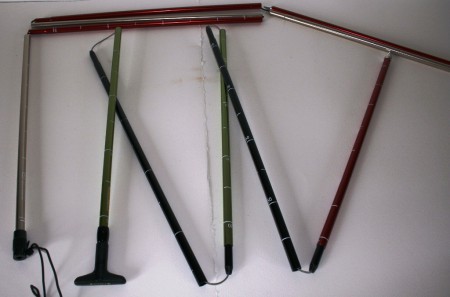
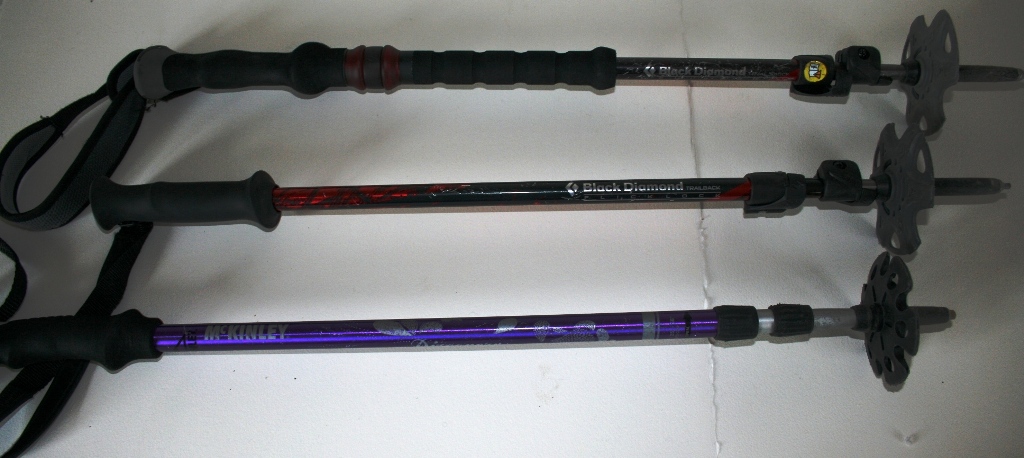
- Bastones plegables / Foldable poles.
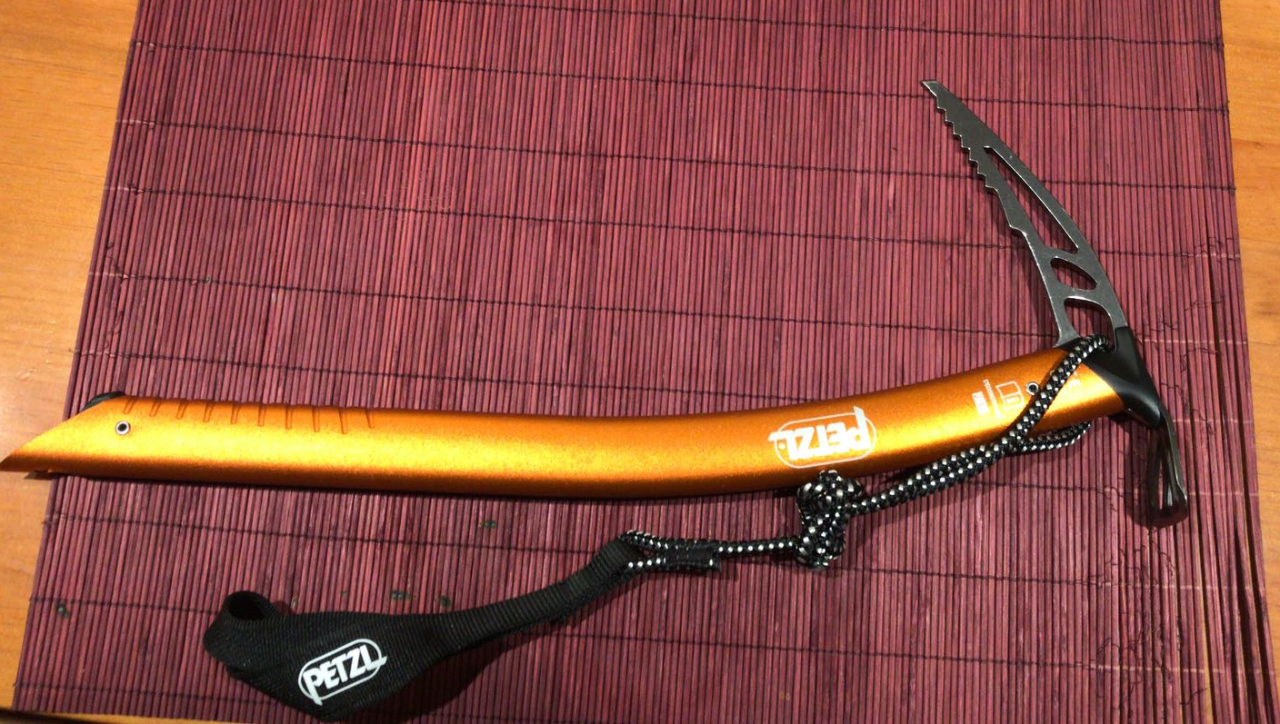
- Piolet / Ice axe.
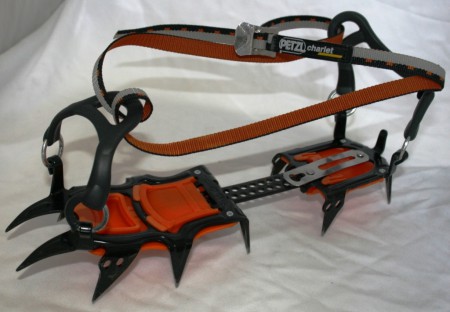
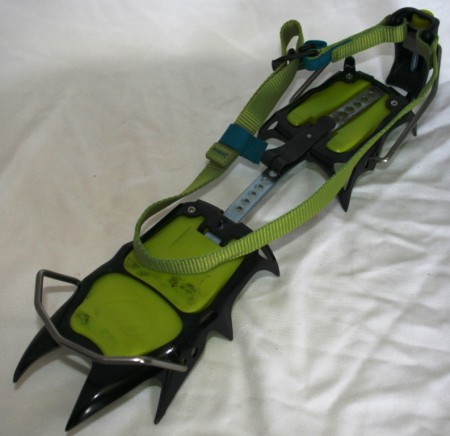
- Crampones / Crampons.
- Cuchillas / Ski crampons.
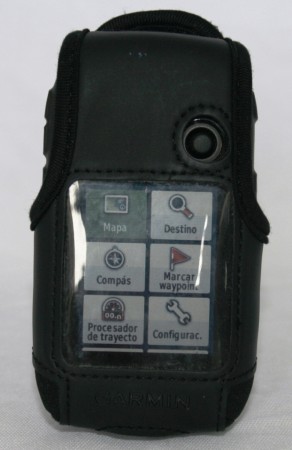
- GPS.
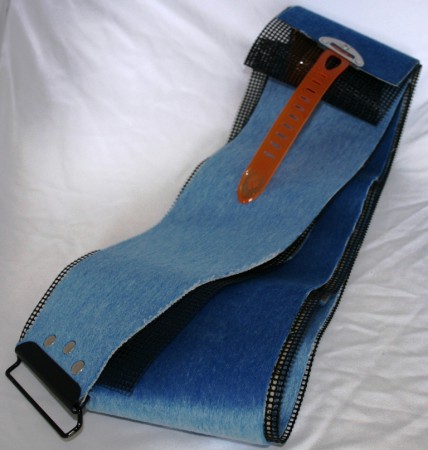
- Pieles de foca / Climbing skins.

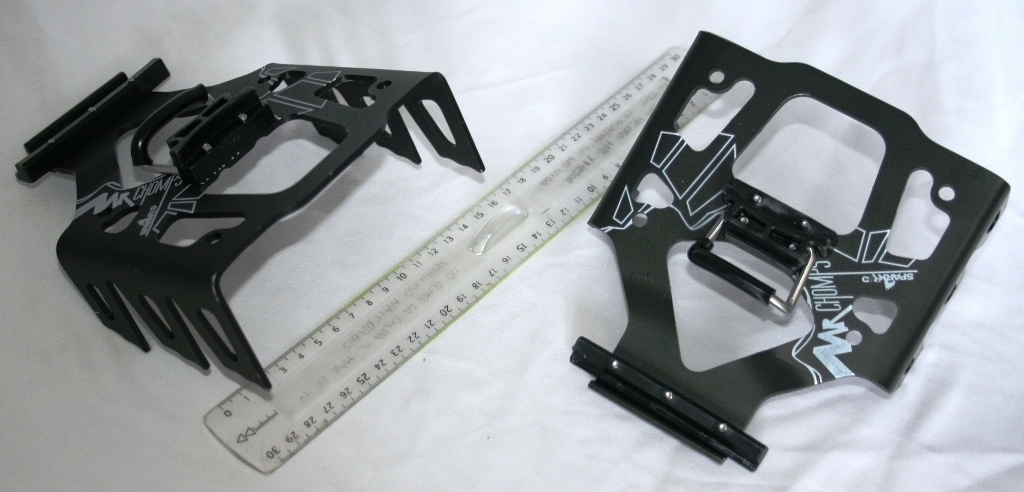
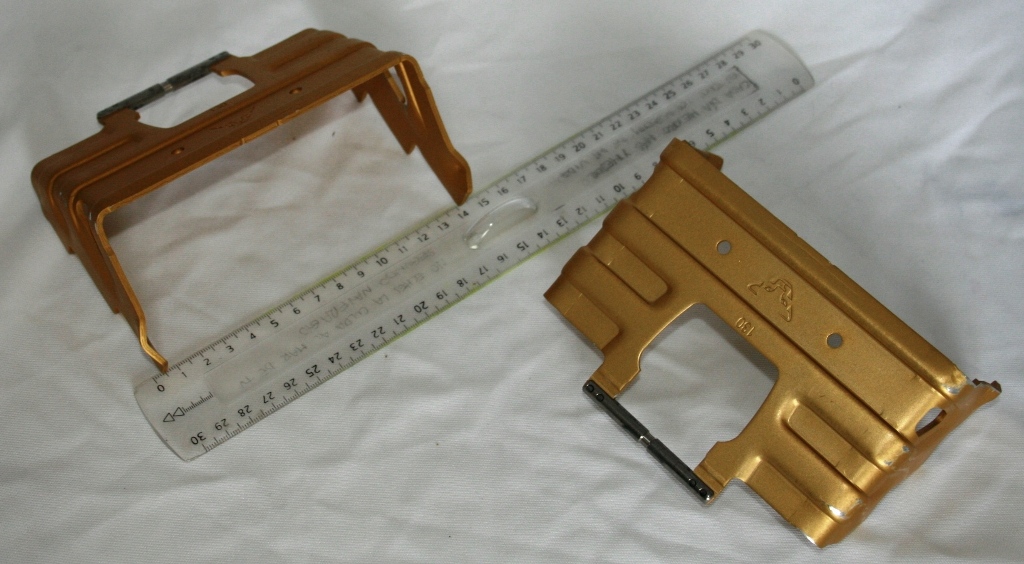
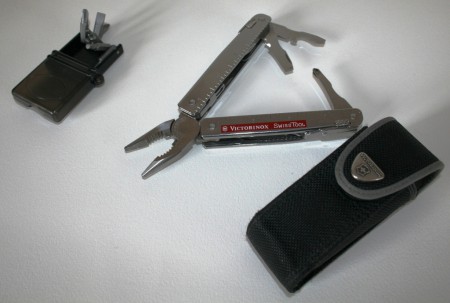
- Herramientas básicas / Basic tools.
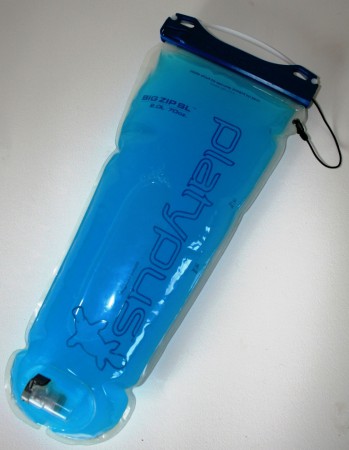
- Bolsa de hidratación de 2 litros. Podemos llevarla con agua o con preparados isotónicos. En tiendas podemos comprar un preparado concentrado en polvo y mezclarlo con agua, sale más económico que las botellas que todos conocemos y el resultado es el mismo. Merece la pena llevar en la bolsa bebida isotónica en vez de agua, sobre todo si la excursión es exigente / 2-liter hydration bladder. It can be filled with water or isotonic drinks. In stores, you can buy concentrated isotonic powder and mix it with water—it’s more cost-effective than the ready-made bottles, and the result is the same. It’s worth carrying an isotonic drink instead of just water, especially for demanding excursions.
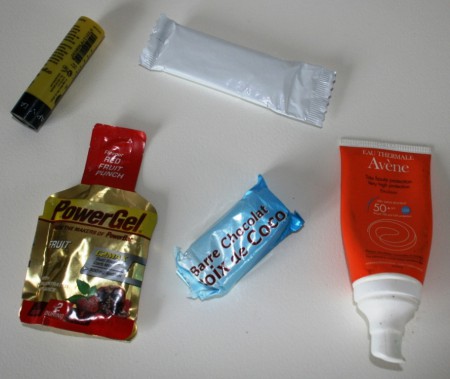
- Geles, barritas energéticas, protector labial, protector solar, gafas de sol, etc. / Energy gels, energy bars, lip balm, sunscreen, sunglasses, etc.